Supplies
lite-brite pegs
high speed drill
small metal files
xacto knife
cup of cold water
safety glasses
acetone nail polish remover
I found a bunch of lite-brite pegs (the old style) at a thrift store. The older ones have longer necks and work better.
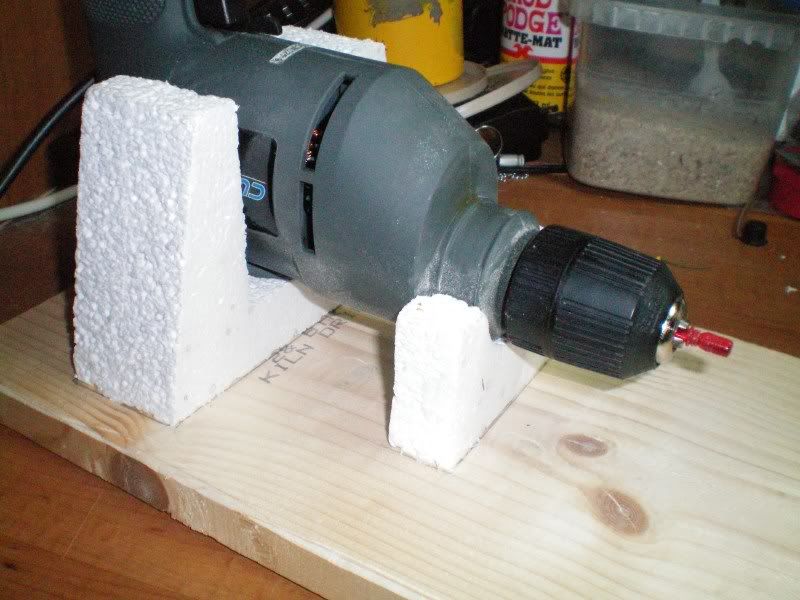
I designed a jig to hold my drill on my desktop. I clamp it to my desk so it doesn't vibrate off the desk. Insert the small end of a lite-brite in the drill

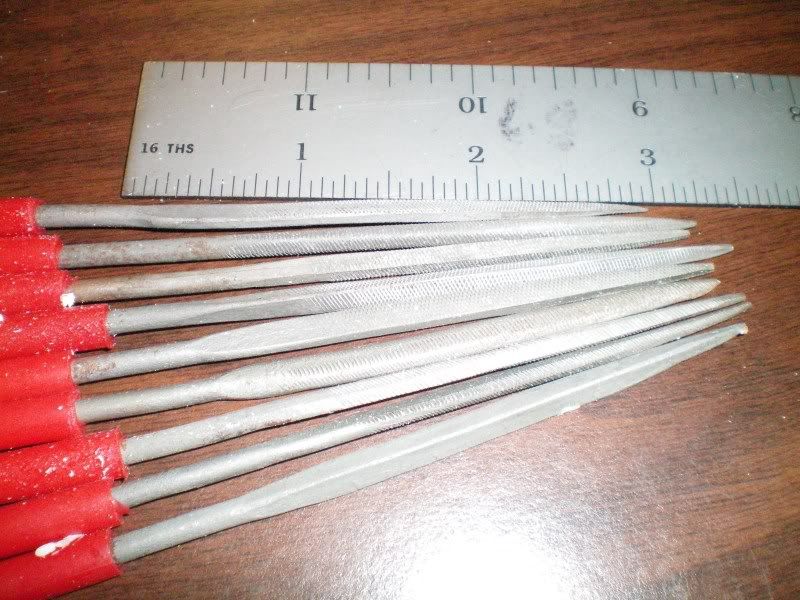
These are the files I use.

The lite-brite pegs will melt if they are filed too long. The cold water helps to cool the plastic as you work. I usually just drip water on it while its spinning and only file a little at a time. I let them soak in cold water for a while before I work on them again.
Various stages of completion

Once you get the bottle the shape you want use the xacto knife to cut it off at the top. Then file down the lid flat. To remove most of the scratches where they were filed use acetone nail polish remover. Paint the lid the desired color and add labels.


6 comments:
Thanks Anna! They are wonderful!
Love your bottles! I thought that one was a real Gatorade bottle at first. Thanks for the tut as well. I have an entire bag of these back home at my Mom's house and would love to try this :)
I love this tutorial, Anna!Thank you for sharing. Precious!
Great idea and great tutorial too! I've been looking for some lite brite pegs for quite a while now. I hope to find some soon!
Great idea! I don't know what lite brite is, but I'm sure I'll be able to find acrylic tubing of some sort over here.
This is a great tutorial. Unfortunately - most of the pictures are missing. Does anyone have archived pictures of this?? I'm not sure if this blogger is still active, but I just came across this tutorial recently and wanted to see all the pics with it.
Post a Comment