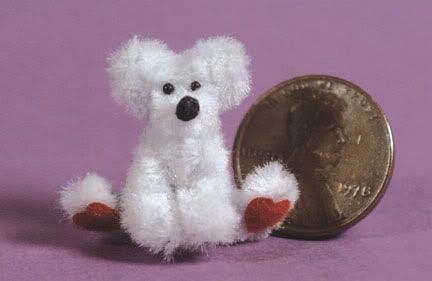
Here are the pieces you need. The plain wire is just to show the bends. For larger images just click on the pictures.
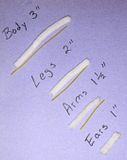
First take the 3" body piece and fold in half. The fold is the nose.
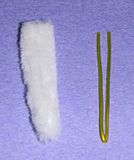
Using needle nose pliers fold in this shape for the head.
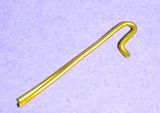
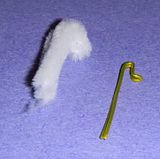
Next fold to make the bear's rump.
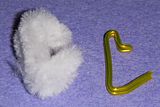
For the legs take the 2" piece and fold like this

Insert legs in the fold of the rump.
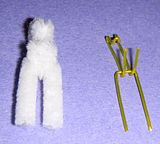
For the arms take the 1.5" piece and fold like this
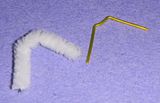
Insert arms into upper body and squeeze body closed tightly.
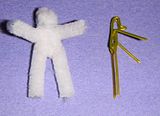
For the ears fold the 1" piece like this
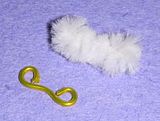
Tighten the curl of the ears to hold in place once on head.
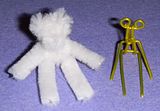
Roll the ends of the hands and feet to desired size and bend at the ankles.
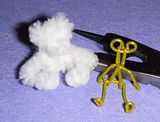
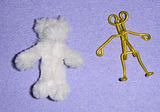
All that's left now is to give him a face. Use one thread of embroidery floss to create a nose. Fold thread in half and knot.
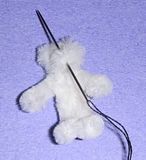
After wrapping thread around wire the desired number of times slip needle under threads to secure and trim of excess.
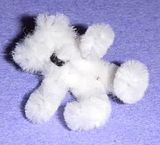
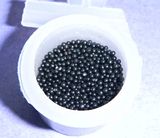
Use no-hole glass beads for his eyes and glue in with tacky glue.
To make other animals just alter the length of the ears and add tails.
Be sure to use fluffy pipe cleaners so the wire doesn't show thru the fur. Glue on paw pads if desired. I punch mine out of fuzzy ribbons.


14 comments:
So clearly showned! Thank you Anna!
Thanks ever so much anna i cant wait to try this
xx
fantastic tutorial Anna! Thank you so much- I can't wait to try this out!
ANNA!!!!! These are just too cute!!!! I tried it just now with some pipe cleaners I had on hand...they are too thin (not fluffy enough) But it actually looks like a bear!!! I want to try it with 2 twisted together to see what happens. I still need to give the little guy eyes and a nose, but I'll share him afterwards. Thanks for sharing how you made them! =D
Muchisimas gracias, por el tutorial.
Tendre que probarlo, pero seguro no me queda tanbien como a ti.
Te quedan preciosos, los perritos los haces igual? son geniales.
besitos ascension
You've done an incredible job with this tutorial Anna! So easy to follow! Thank you! I've awarded you with an award over at my blog. Please jump over there and accept it!
Carolyn
http://fabshabbyroses.blogspot.com/
Dear Anna, Thank you for working out a solution to give us a tutorial on the little bear. I really appreciate your sharing your skills. Isn't it great to expand our talents!
Regards Janine
minworks.blogspot.com
Ana! I will to be added to the list of thankful recipients of your knowledge! You are so clever to use the pin . This tutorial is so clear. Here's a big hug and a kiss for a wonderful and generous effort! THANK YOU!
Thanks! It was a great idea to show the wire, a really great tutorial :) Now I need to find some of those fluffy pipe cleaners ...
Awesome!! Thansk a lot! Will have to give it a try, thanks again!!
Hi Anna.
I've just found your site, and I'd love very much to buy some of your micro beads. What colors do you have and what's the price?
By the way I really like your bottles made of Lite-brite. I don't know if it's possible to buy Lite-brites in Denmark.
Hugs from Lene, Denmark
I've never been good at pipecleaners, (I've tried, who knows why). But this might be my first pipecleaner success! Great tutorial, and so cute!
So cute. Hi. Do you allow pictures from your shop to be pinned on Pinterest? My daughters and I are making her a wish board http://pinterest.com/homeiswhere/doll-play/. Thanks.
Stephanie shuttermom77 at gmail dot com
Hi Anna,
I cannot tell you how many tutorials i have watched and followed along. You are the best! Your directions were clear. The use of bare wire was genius! Thanks so much! Now I need to find a dog and a cat. Hmmm any ideas???
Shell
Post a Comment